



Placing a stop-loss is one of the few decisions in trading that directly controls the maximum loss on a trade. The method you choose affects win-rate, position sizing, emotional stress, and long-term profitability. This article explains the common stop-loss placement methods, when to use each, and the tradeoffs to expect so you can choose an approach that fits your edge and risk rules.
- Quick Summary

- Choose a stop method that matches your timeframe, volatility, and edge: volatility-based stops for noisy markets, structure-based stops for price-action strategies.
- Always set position size to align the dollar risk with your stop distance — stop placement and sizing must be designed together.
- Too-tight stops increase whipsaws and reduce expectancy; too-wide stops require smaller sizes and increase capital tie-up.
- Combine methods: use a volatility buffer plus a structural stop (swing low/high or support level) for higher-probability placement.
- Less obvious: multi-timeframe confirmation for stop placement often reduces false stop-outs and improves trade durability.
Primary search intent and scope
This article answers: Which stop-loss placement methods exist, how to calculate and implement them, and what tradeoffs each method introduces. Secondary intent includes operational questions (order types, position sizing), psychology, and adapting stops to volatility and timeframe.
Stop-loss placement methods (overview)
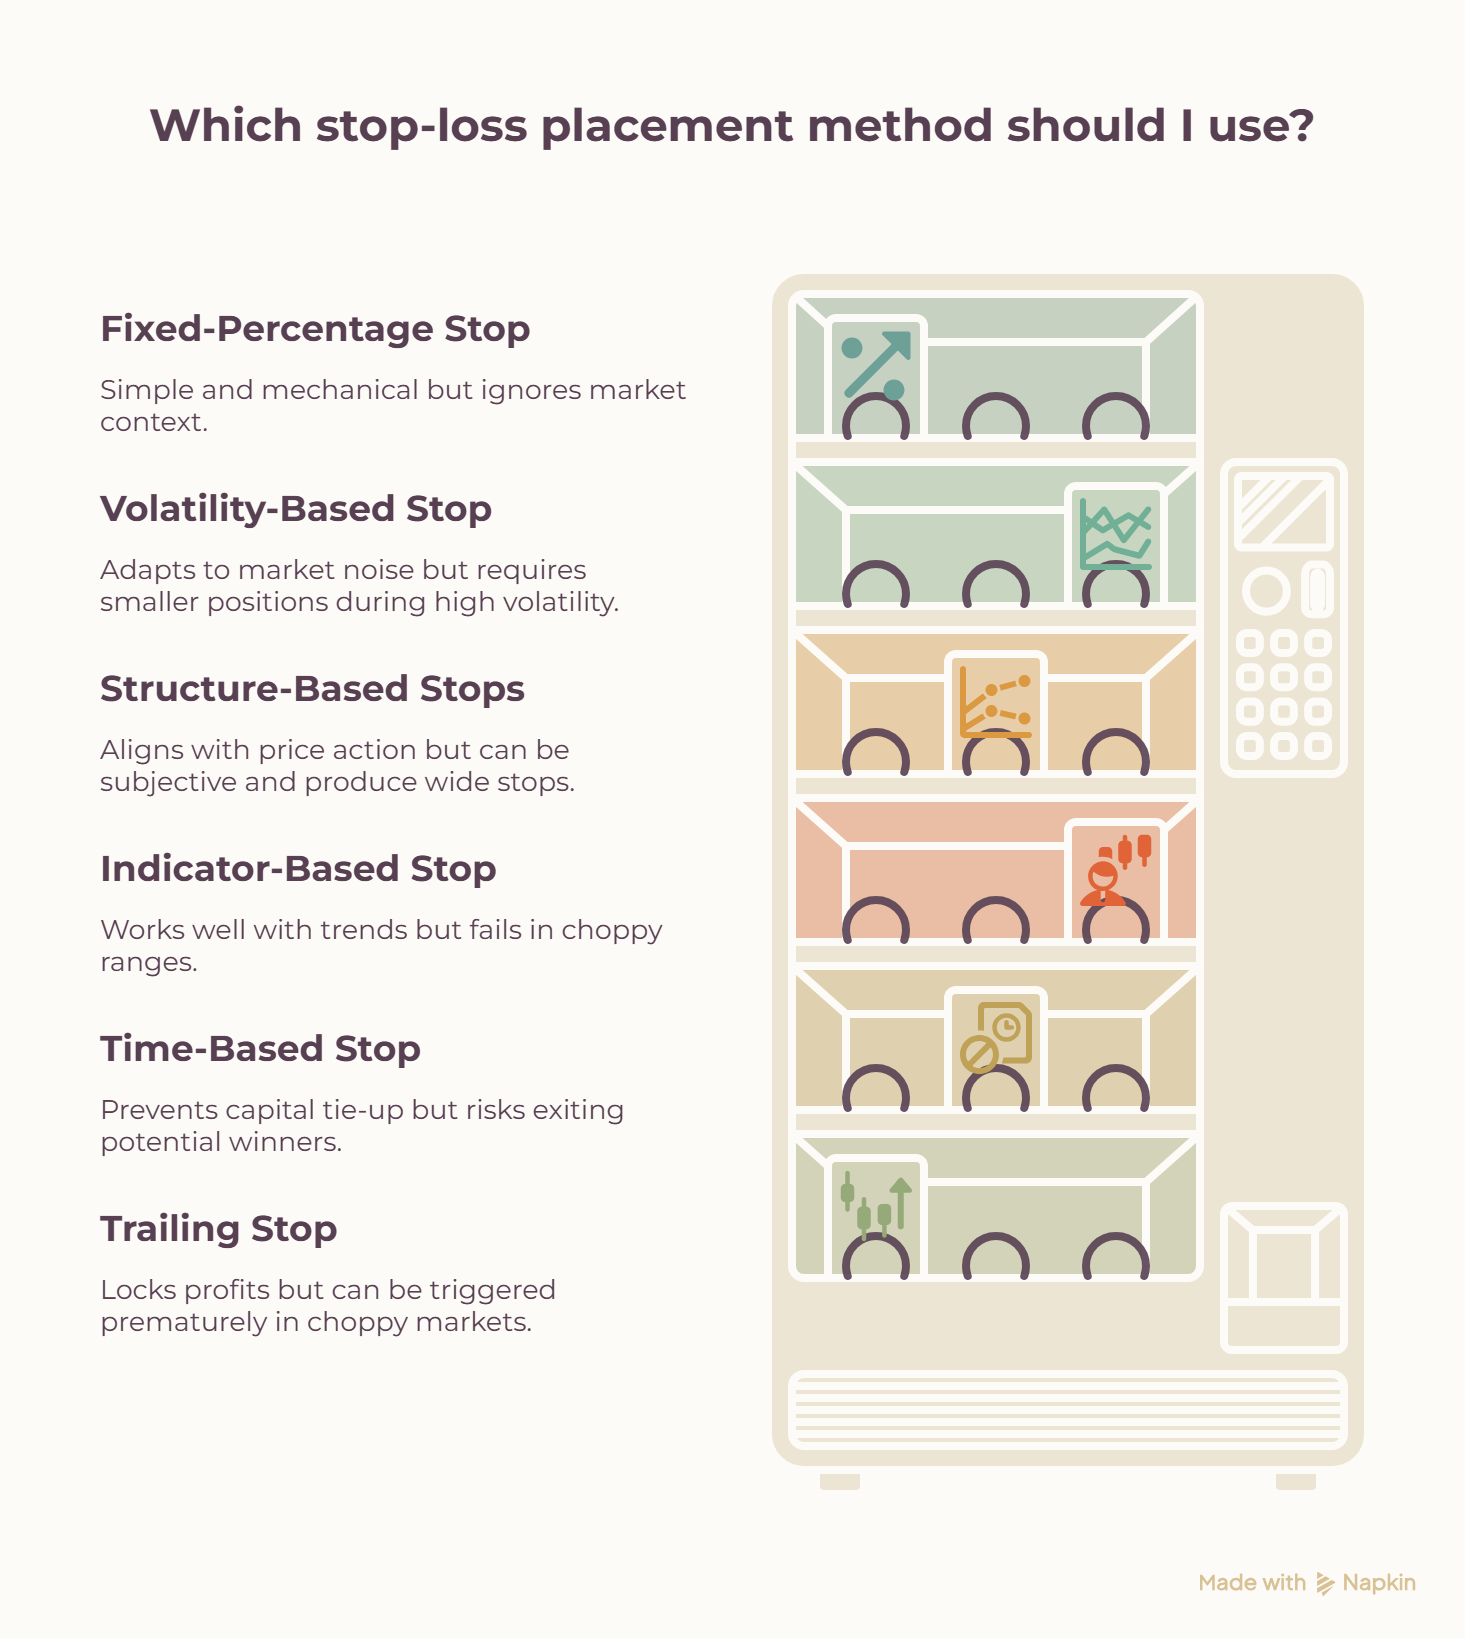
Below are the most widely used stop-loss placement methods. Each method includes a short description, how to calculate or place the stop, and the main tradeoff to consider.
1) Fixed-percentage stop
Description: A stop placed a fixed percentage from entry (for example 1% or 2% of price). Simple and mechanical.
How to use: Decide maximum percentage risk per trade and translate that into price distance. Combine with position sizing rules so your dollar risk equals your plan.
Main tradeoff: Simplicity vs. ignorance of market context — a fixed percentage can be too tight in volatile stocks or too wide in quiet ones, reducing effectiveness.
2) Volatility-based stop (ATR method)
Description: Use Average True Range (ATR) or another volatility measure to set a stop that adapts to current price movement. Common rule: 1.5–3 × ATR below/above entry.
How to use: Measure ATR on the timeframe you trade, multiply by chosen factor for buffer, and set stop at that distance from entry.
Main tradeoff: Adapts to market noise and reduces random stop-outs, but wider stops during high volatility require smaller positions and can increase capital at risk.
3) Structure-based stops (swing low/high, support/resistance)
Description: Place stops beyond clear price structure — below a swing low in long trades or above a swing high in shorts, or beyond a support/resistance zone.
How to use: Identify the nearest significant swing or zone on the relevant timeframe and place the stop a small buffer beyond it to avoid normal intraday spikes.
Main tradeoff: Aligns with price action and reduces premature exits on normal noise; however, identifying the correct structure level is subjective and may produce very wide stops in volatile moves.
Understanding support and resistance levels helps locate structural stop areas and reduces ambiguity when placing structure-based stops.
4) Moving-average or indicator-based stop
Description: Use a moving average (e.g., 20 EMA) or another trend indicator as a trailing stop or static stop reference.
How to use: For trending trades, place initial stop beyond a moving average or use the MA as a dynamic trailing stop.
Main tradeoff: Works well with trend-following edges but can fail in choppy ranges where the indicator whipsaws.
5) Time-based stop
Description: Exit if the trade does not reach a target or move in expected time (for example, close the trade after X days or Y candles).
How to use: Define a patience period during backtest or based on the strategy’s expected holding time and close if the market stays against you or is stagnant.
Main tradeoff: Prevents capital tie-up on low-expectancy trades but may close positions that would later become winners; works best when combined with other stop methods.
6) Trailing stop (fixed or volatility-adjusted)
Description: A stop that moves in the direction of the trade to lock profits — fixed pip/point or based on volatility (e.g., ATR trailing stop).
How to use: Set a trailing distance; move the stop only in the direction of profit, never backward.
Main tradeoff: Locks profits and increases win size on trending trades, but a trailing stop can be triggered prematurely in choppy markets, reducing overall payoff if the trend resumes.
Practical comparison: methods vs tradeoffs
Quick comparison table
| Method | Primary tradeoff |
|---|---|
| Fixed-percentage | Simple to manage but ignores volatility and structure |
| Volatility-based (ATR) | Adapts to noise; wider stops when volatility spikes require smaller position sizes |
| Structure-based (swing/support) | Aligns with price action; subjective and can produce very wide stops |
| Indicator-based (MA) | Good for trends; poor in sideways markets |
| Time-based | Removes stagnant trades; risks exiting potential winners |
| Trailing stops | Locks profits; vulnerable to whipsaws and premature exits |
How to choose a stop method — a step-by-step process
- Define your trading timeframe and edge (scalp, swing, trend-following, mean-reversion).
- Measure typical volatility on your timeframe (use ATR or standard deviation).
- Decide acceptable dollar risk per trade and compute position size so risk × position = allowed dollar loss. See position sizing methods for guidance.
- Select a stop method that fits the edge: volatility-based or structure-based for swing trades; tighter fixed-percentage or time-based for mean-reversion and scalps.
- Backtest or paper trade the stop choice across many trades and market conditions and record how stop placement affects expectancy and drawdown.
- Refine: combine methods (e.g., structure stop with a volatility buffer) and re-run tests until results match the risk profile.
For practical rules on calculating trade risk and converting stop distance to position size, study position sizing techniques carefully — especially the 2% risk rules and risk management frameworks.
Applying formal position sizing reduces ad-hoc sizing mistakes. See how to apply the 2% rule for position sizing and broader risk management rules for position sizing.
Order mechanics: stop orders vs stop-limit and execution risks
Knowing order types affects real-world stop behavior. A market stop becomes a market order when triggered and guarantees execution but not price; a stop-limit protects against slippage but may not execute if price gaps through the limit.
Read more about order types to choose the proper order for your stop strategy and the liquidity of the instrument you trade.
Understanding order types in the stock market helps prevent execution surprises when a stop is triggered.
Common pitfalls and how to avoid them
Most stop-related losses arise from these avoidable mistakes:
- Using a stop that’s too tight relative to volatility — avoid by scaling stops with ATR.
- Placing stops without considering current market structure — mitigate by scanning support/resistance and swing points.
- Failing to size positions to match stop distance — solve by applying consistent position-sizing rules.
- Moving stops arbitrarily because of fear or hope — maintain discipline with predefined rules.
- Relying on a single timeframe — use multiple timeframes to validate structural stops.
Multi-timeframe checks reduce false stop-outs caused by micro noise. For guidance on aligning timeframes, consult multi-timeframe techniques.
See multi-timeframe analysis for practical steps to confirm structural levels across charts.
Five beyond-common-sense insights
- Mixing methods reduces single-point failure: a structure stop with a volatility buffer often outperforms either method alone because it respects both price logic and market noise.
- Stop placement should be dynamic across capital cycles: during periods of increased market-wide volatility, widen stops or reduce position size rather than abandoning risk controls.
- Use asymmetric risk: if your strategy has a high probability but small average win, tighter stops with more frequent trades can be appropriate; for low-frequency trend strategies, allow wider stops to capture large moves.
- Trailing stops lock wins but can destroy trend profits if based on fast indicators; using volatility-based trailing distances preserves winners longer while still protecting gains.
- Psychology and order choice interact: traders who set stops as market orders reduce the stress of missed exits, but they must accept possible slippage in fast markets. Training your execution plan reduces emotion-driven stop changes — improving results.
Example calculations
Example 1 — ATR-based stop:
- Entry: 500 INR
- ATR (15m): 4 INR
- Stop distance: 2 × ATR = 8 INR → Stop at 492 INR
- If max dollar risk per trade = 2,000 INR, position size = 2,000 ÷ 8 = 250 shares
Example 2 — Structure-based stop:
- Entry: 1200 INR, nearest swing low: 1176 INR
- Buffer: 6 INR → Stop at 1170 INR (30 INR distance)
- If max risk = 6,000 INR, position size = 6,000 ÷ 30 = 200 shares
When to use each method — quick decision guide
- Scalps / intraday mean-reversion: tight fixed-percentage or time-based stops with strict position sizing.
- Swing trades: structure-based or ATR-adjusted stops to survive intraday noise.
- Trend-following: wider ATR or indicator-based stops and trailing stops to capture large moves.
- Low-liquidity instruments: prefer stop-limit orders or wider buffers to avoid slippage; always consider order-type implications.
Troubleshooting common scenarios
Stops keep getting hit in a choppy market
Solution: increase volatility buffer (use ATR) or reduce position size; consider switching to a different strategy (range-trading rules) until trend clarity returns. Managing volatility is part of the survival toolkit.
See techniques on how to handle price swings and manage volatility for practical adjustments.
Stops rarely get hit but drawdown is large
Solution: your stops may be too wide relative to capital — reduce stop distance or lower allocation per trade to limit drawdown. Re-evaluate expectancy and edge.
Final checklist before entering a trade
- Is the stop method consistent with the strategy edge and timeframe?
- Have you converted stop distance into position size so dollar risk matches rule limits?
- Is the stop placed beyond clear structure (if structure method used) and buffered for volatility?
- Have you chosen the appropriate order type given liquidity and gap risk?
- Have you recorded the stop rationale for later review?
Further learning
To strengthen the technical background for choosing stops, review market structure and indicators, which will improve your identification of swing points and trend context.
Understanding market structure and the role of technical indicators will sharpen your stop placement decisions.
Conclusion
Stop-loss placement is not a one-size-fits-all choice. The best practice is to select a method consistent with your timeframe and edge, always pair stops with disciplined position sizing, and test the combination across market regimes. Combining structure-awareness with volatility buffers and multi-timeframe confirmation offers a robust compromise between early stop-outs and excessive drawdown.
Summarize action steps:
- Decide your acceptable dollar risk per trade and calculate position size.
- Select a stop method appropriate to your edge (structure, ATR, fixed, trailing, or hybrid).
- Use proper order types and a small buffer beyond structure levels to avoid normal noise.
- Backtest or paper trade the chosen stop approach across different market conditions and refine it.
If you have a specific trade setup or timeframe, share it in the comments and the community can provide feedback on a suitable stop placement and sizing approach.